

Quick Introduction To Docker
Docker is a container technology that makes it easier to develop, ship and run applications. It runs your applications in loosely isolated environments called containers which are running instances of images. Images are prototypes for containers. It helps you separate your application from your infrastructure so you can develop applications quickly.
Images and Containers
An image is a blueprint for containers. Images contain the code and the development runtime needed to run an application.
A container is a lightweight isolated unit of running software with read and write access. It is a running instance of an image. There can be multiple running instances of an image simultaneously.
Setup
We will set up a very basic Nodejs application that displays hello world. This is not a Nodejs tutorial. It is a DevOps tutorial and you don't necessarily need to know Nodejs to follow this tutorial. Follow the steps to set up your project:
Clone the repository from this link: https://github.com/shoebilyas123/docker-tutorial-hashnode
Run
npm installto install the packages.Run
node index.jsin the terminal to run the application.Visit
localhost:8000to view your app.
Configuring Dockerfile
Dockerfile: A Dockerfile is a text file that defines all the instructions that will be used to assemble an image. Here is the whole code for the Dockerfile. In the subsequent steps, I will explain each line of instruction.
FROM node
WORKDIR /workdir
COPY . .
RUN npm install
EXPOSE 8000
CMD ["node", "index.js"]
Create a file named Dockerfile without any extension inside the root folder. You can either copy the whole Dockerfile content or write it down manually as I explain each line of instruction.
FROM:The first step is always to define a base image. FROM is a keyword which is used to tell docker what base image we are using.A base image can be described as a minimal Linux distribution on top of which the required libraries, binaries and configuration files are layered for the application to run. In our case, we will download the node base image from Dockerhub, which will be a Linux distribution with a node environment for our application to run. We can also use our custom base image when needed or we can download one from Docker Hub as we will do here.
We can also define the version or just use
node:latestto get the latest image. By default, Docker will download the latest image if no version is provided.WORKDIR:This command is used to define the working directory in the image's filesystem. You can use an absolute path also as we did here/workdiror use a dot to specify your root file as the working directory.COPY:COPY <source> <destination>will copy our contents from the source folder to our destination folder.Since this is a very basic node application, we can just copy the root folder directly to our working directory using
COPY . /workdir. Otherwise, you will need to specify the folder or a file.RUN:Now all our contents have been copied into our working directory. We will now need to install the dependencies required by our project to run. We will use theRUNcommand for this. The RUN command executes at the time of the creation of our image.RUN npm installwill install the dependencies defined in our package.json file.EXPOSE:This command is to tell Docker which ports the application will be listening to in the runtime. It is not a necessary instruction but it merely gives docker a hint about the ports that will be available.CMD:CMDinstruction allows us to specify defaults in a running container.CMD ["executable", "param1", "param2"] - the first entry in the array specifies our executable followed by parameters. This instruction is executed inside a running container and not in the image.
CMD ["node","index.js"]will execute index.js file in the working directory and run our Nodejs server.
Build and Run
We created our Dockerfile and defined some instructions in it to assemble the image. In this section, we will build an image and spin up a running instance of it called the container.
The first step is to build an image. Go to the project folder and run docker build <path> command in the terminal. <path> will be ". " since we defined our Dockerfile in the root folder. Docker will automatically detect our Dockerfile and use the instructions given to assemble an image. Before we continue, we will give a name to our image. For that, we will use -t flag followed by the image name. The command should look like this: docker build -t <name>. You can define a tag for it by using a colon. For example, name:latest or name:1.2.
You will see in the terminal, that, docker will start building your image. Since this is the first time you are building your image, it might a while.
Image Layers - Every line in our Dockerfile is an instruction. Docker caches every instruction result and when we rebuild our image it will use these cached results to prevent unnecessary redownloading or re-evaluation. Every instruction is called a layer. If anything in the project relating to a layer changes then that instruction and the subsequent instructions are re-executed by docker instead of using cache. This is the reason that subsequent rebuilds are significantly faster than the initial one.
Our image is ready. Now we can spin up running containers. Copy the first few letters of the image id labelled as sha256 or you can also use the name of your image. Now run
docker run <Copied ImageID or Name>. This will run our container in the attached mode.=> writing image sha256: <IMAGEID>However, when we try to visit port 8000 on our localhost, we see nothing. The reason is that our container is running in an isolated state. Our application is running on port 8000 inside our container. To, access it we need to forward the port to our host pc. We will see exactly how to do this in the next step.
Open a new terminal in the same directory. Enter
docker ps. This command displays all the running containers. Now copy the container name and enterdocker stop <container name>to stop the running container.You can run a new container also without stopping the previous container. It's up to you. Remember, we can have multiple running instances of an image.
Once the container is stopped, enter
docker run -p 3000:8000 <ImageID or ImageName>and press enter.-pis used to publish all exposed ports to random ports or as in our case port 3000. Now visit localhost:3000 and you can access your running Nodejs application.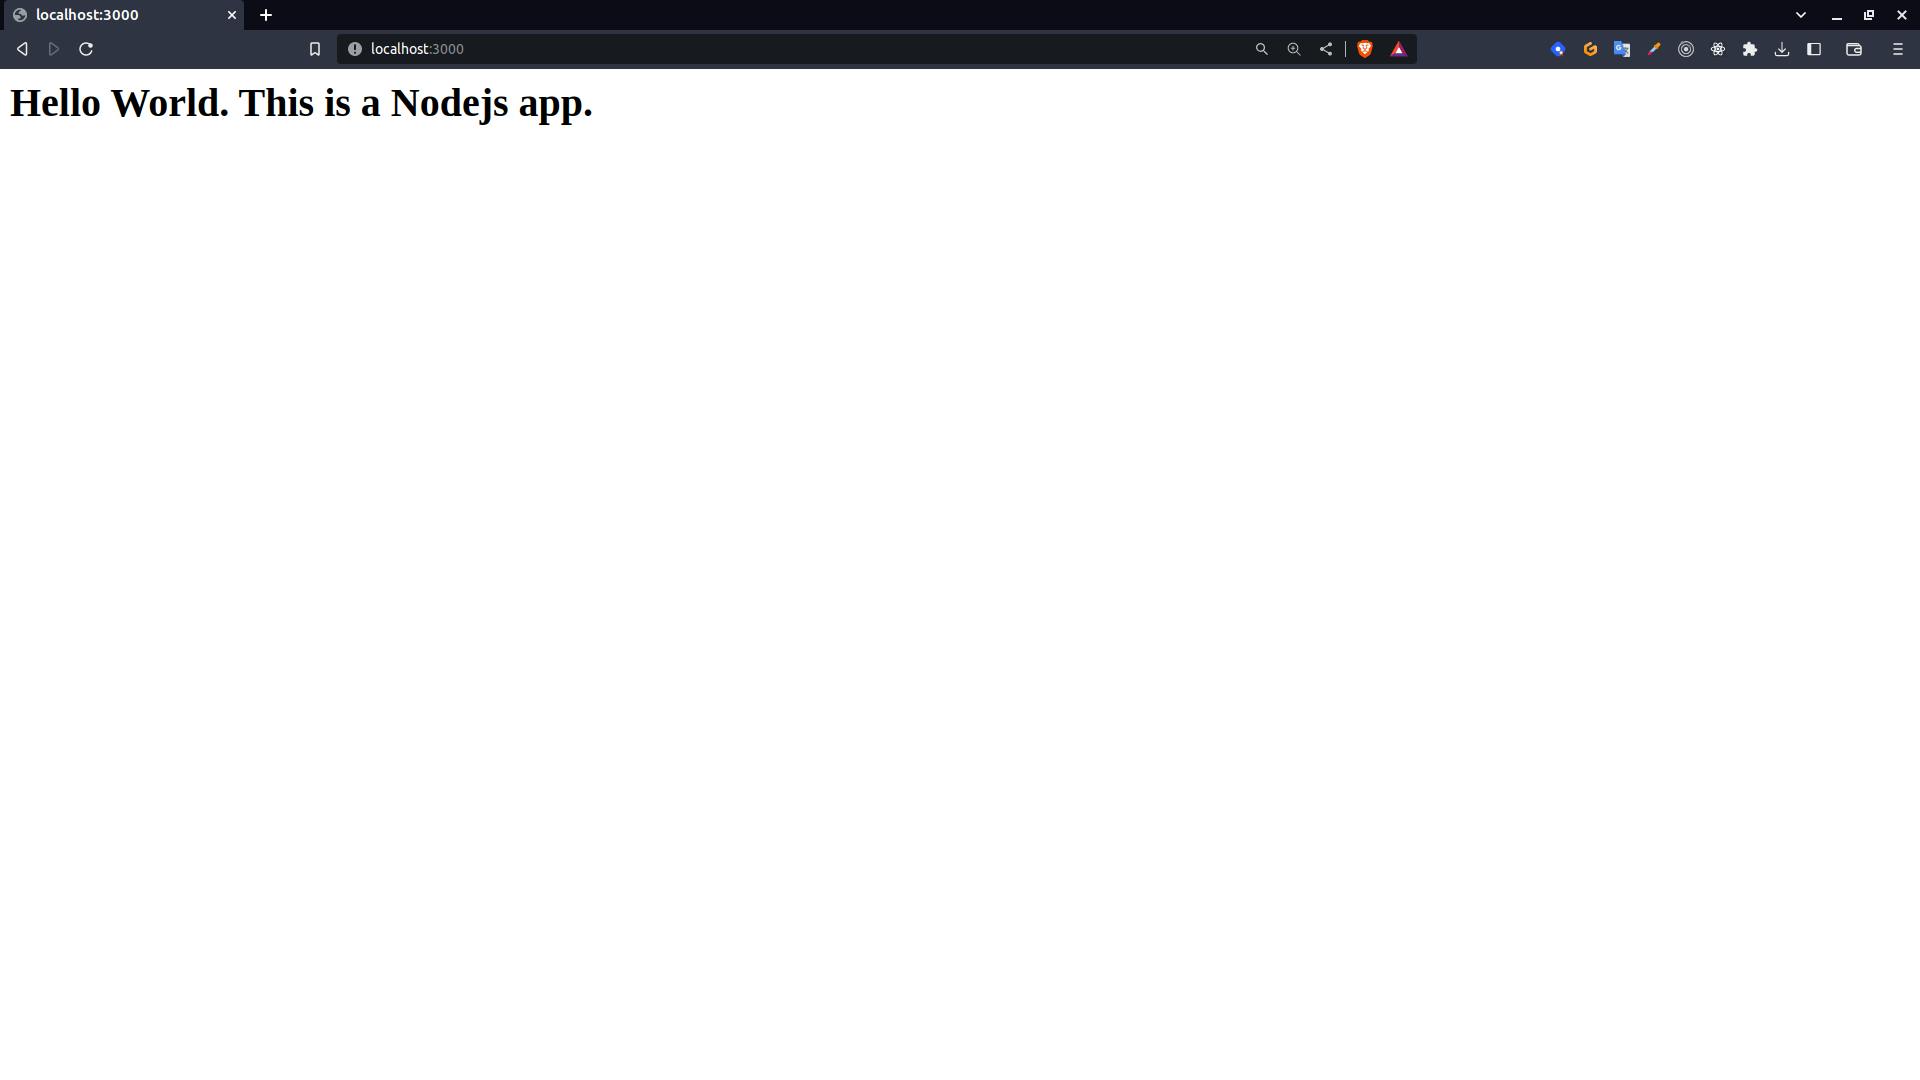
Congratulations, you just built your first image and executed your first Docker container.
Thanks for reading this article. Hopefully this helped you get started with docker. Stay tuned for more content.